Documenting Case Notes and Case Goals is not required within HMIS. Agencies, funders, or individual users may decide recording case goals and notes is beneficial for their specific needed. This article will outline how to create various goals and record case notes within each goal if desired.
NOTE: Goals and case notes are not shared between agencies in HMIS
Create a Goal
- Select Enter Data As provider
- Search for the client and select the record
- Set Back Date Mode
- Click on the Case Plans tab
- If this tab is not present on your screen, confirm Enter Data As is set. If EDA is set correctly but the tab is still not present, please reach out directly to NCCEH Data Center
- Click the Add Goal button
- If a household exists, select all family members to whom the goal will apply
- Select Provider by making a selection from the drop-down menu
- Type in the Date Goal was Set
- Set "Classification" by clicking the drop-down menu
- Set "Type" by clicking the drop-down menu
- Set "Overall Status" to Identified
- Click the Add Goal button
- Add a Case Note
- Click the Add Case Note button
- Type the case note
- Click the Save Case Note button
- Click the Save & Exit button
Updating a Goal
- Select Enter Data As provider
- Search for the client and select the record
- Set Back Date Mode
- Click on the Case Plans tab
- Click on the "notepad icon" next to the goal being updated
- Click Add Case Note
- Select Provider by making a selection from the drop-down menu
- Type the case note
- Click Save Case Note
- Click the X at the top right corner to close the pop-up box
Closing a Goal
- Select Enter Data As provider
- Search for the client and select the record
- Set Back Date Mode
- Click on the Case Plans tab
- Click the "pencil" in front of the goal to be closed
- If a household exists, select all family members which the goal will apply
- Set "Overall Status" to Closed
- Set If Closed, Outcome by making a selection from the drop-down menu
- Type the date of closure (to the right of "If Closed, Outcome")
- Add a Case Note, if applicable
- Click the Add Case Note button
- Type the case note
- Click the Save Case Note button
- Click the Save & Exit button
Printing a Goal
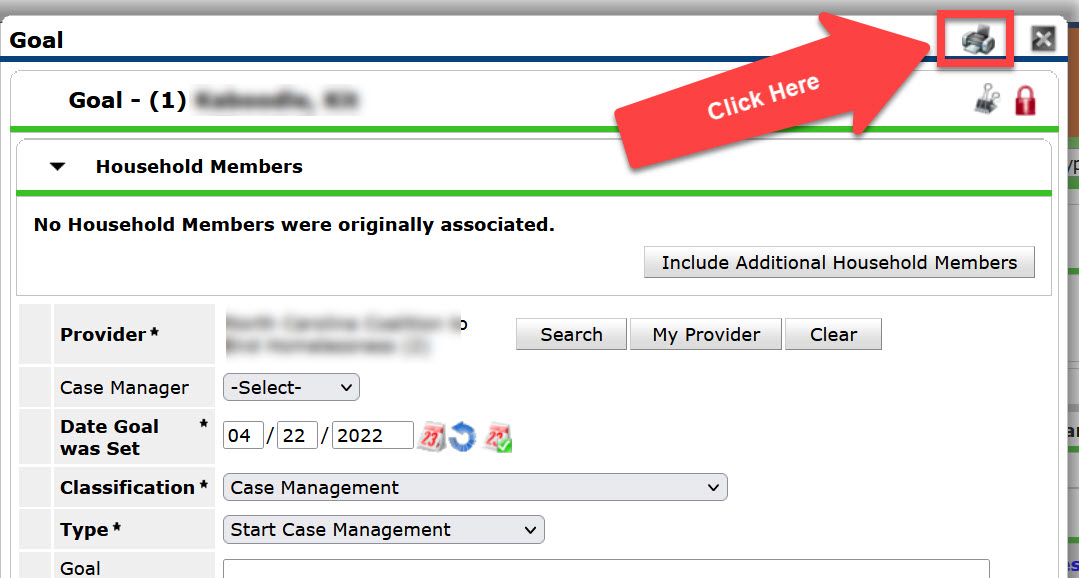
If the screen is open on the pop-up box for the goal needing to be printed:
- Click the printer icon in the upper right corner of the pop-up box
If the screen is open on the Client's Record:
- Click on the Case Plans tab
- Click the "pencil" in front of the goal to be printed
- Click the printer icon in the upper right corner of the pop-up box
Comments